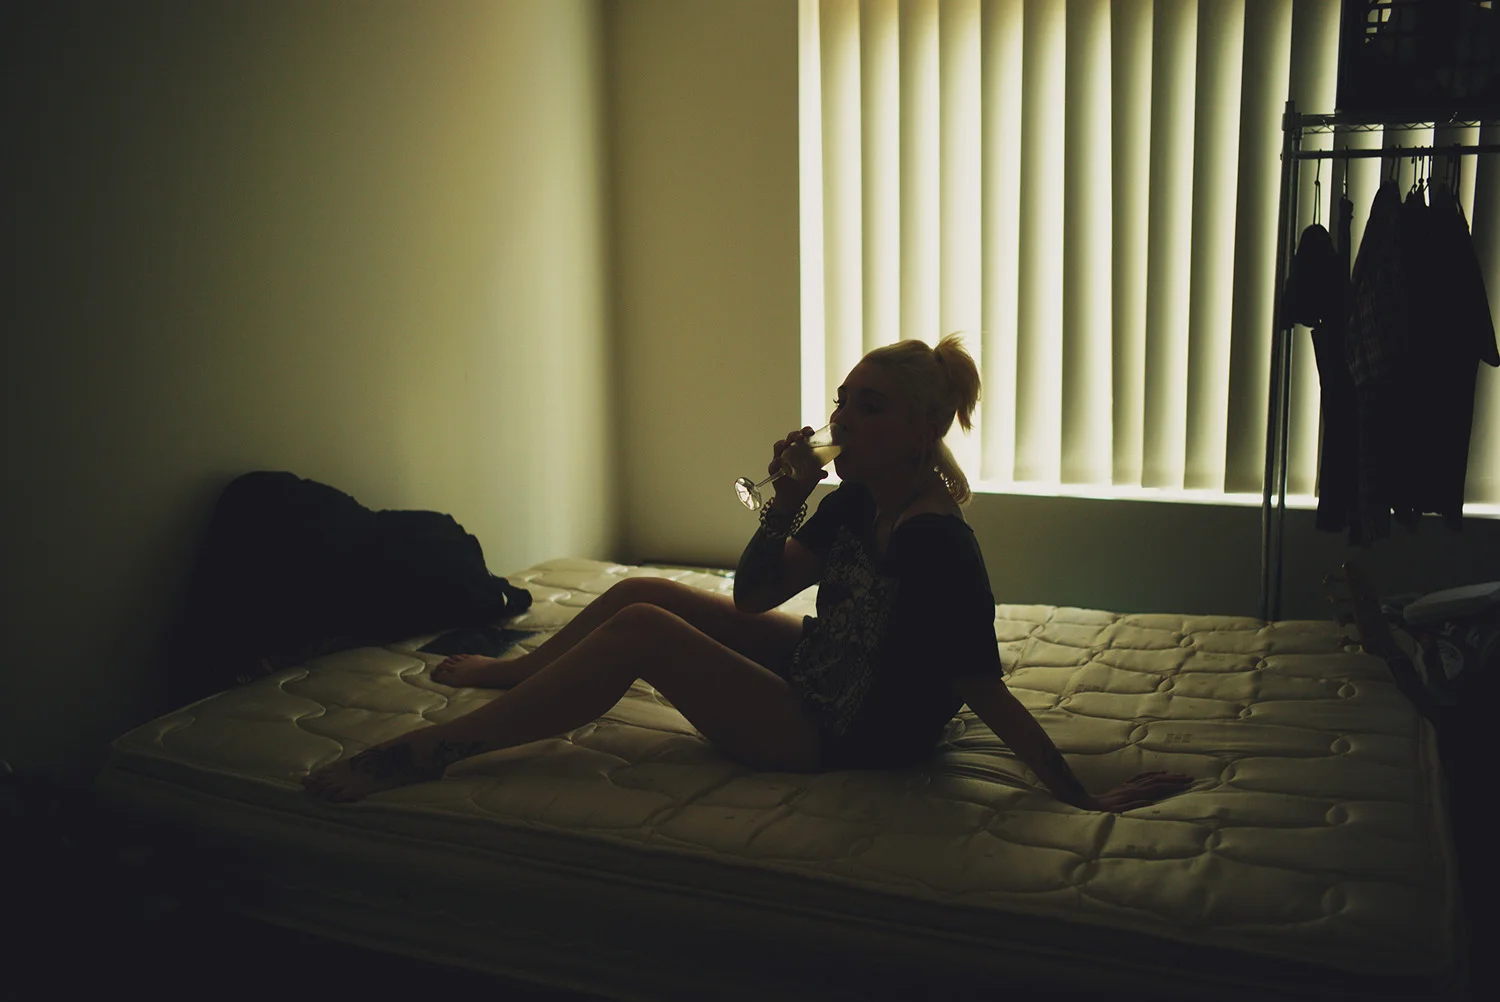
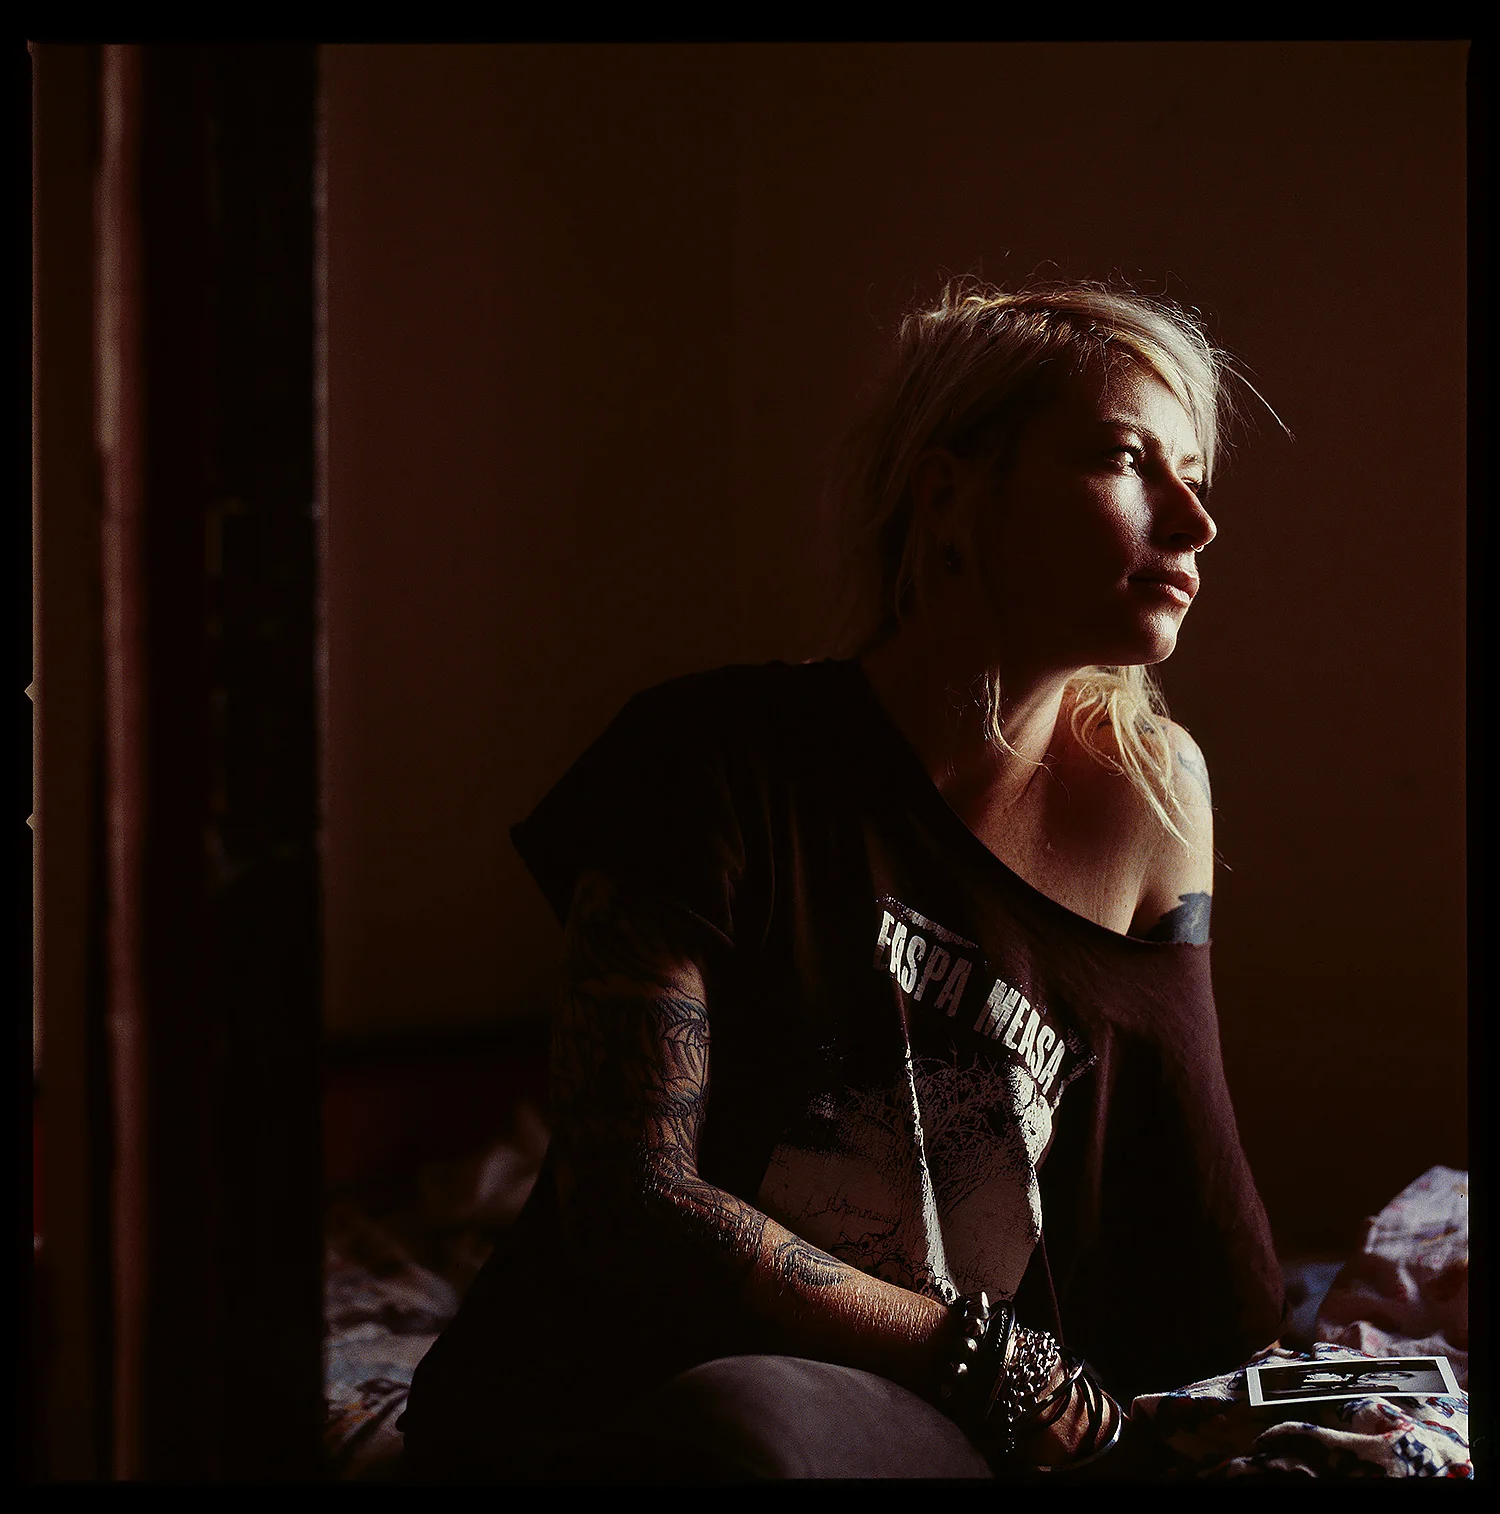
Untitled #2543, 2014

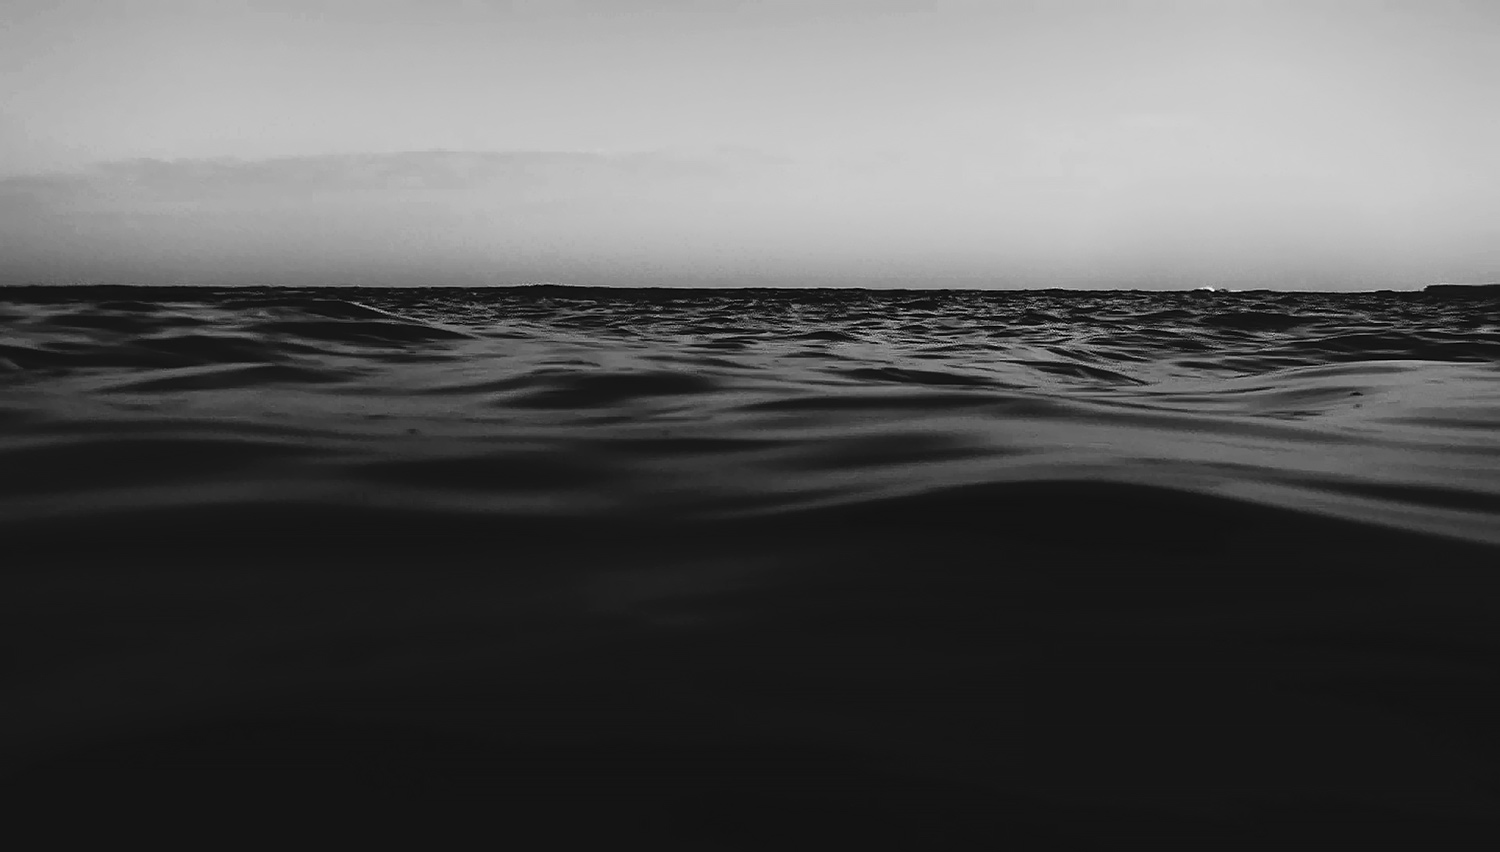
Ascend, 2017
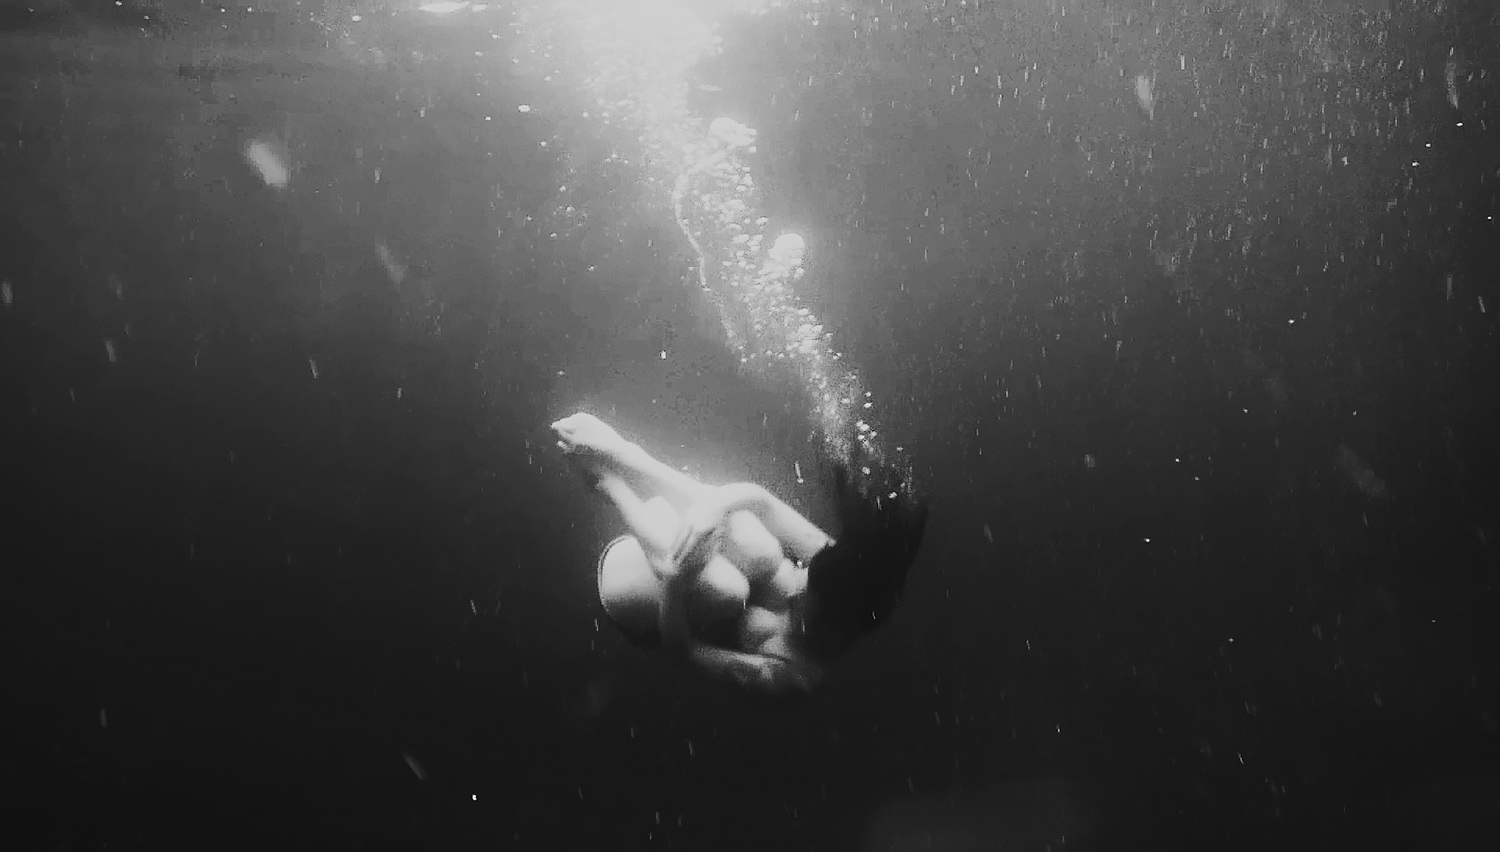
Untitled #01, 2017
Untitled #02, 2017
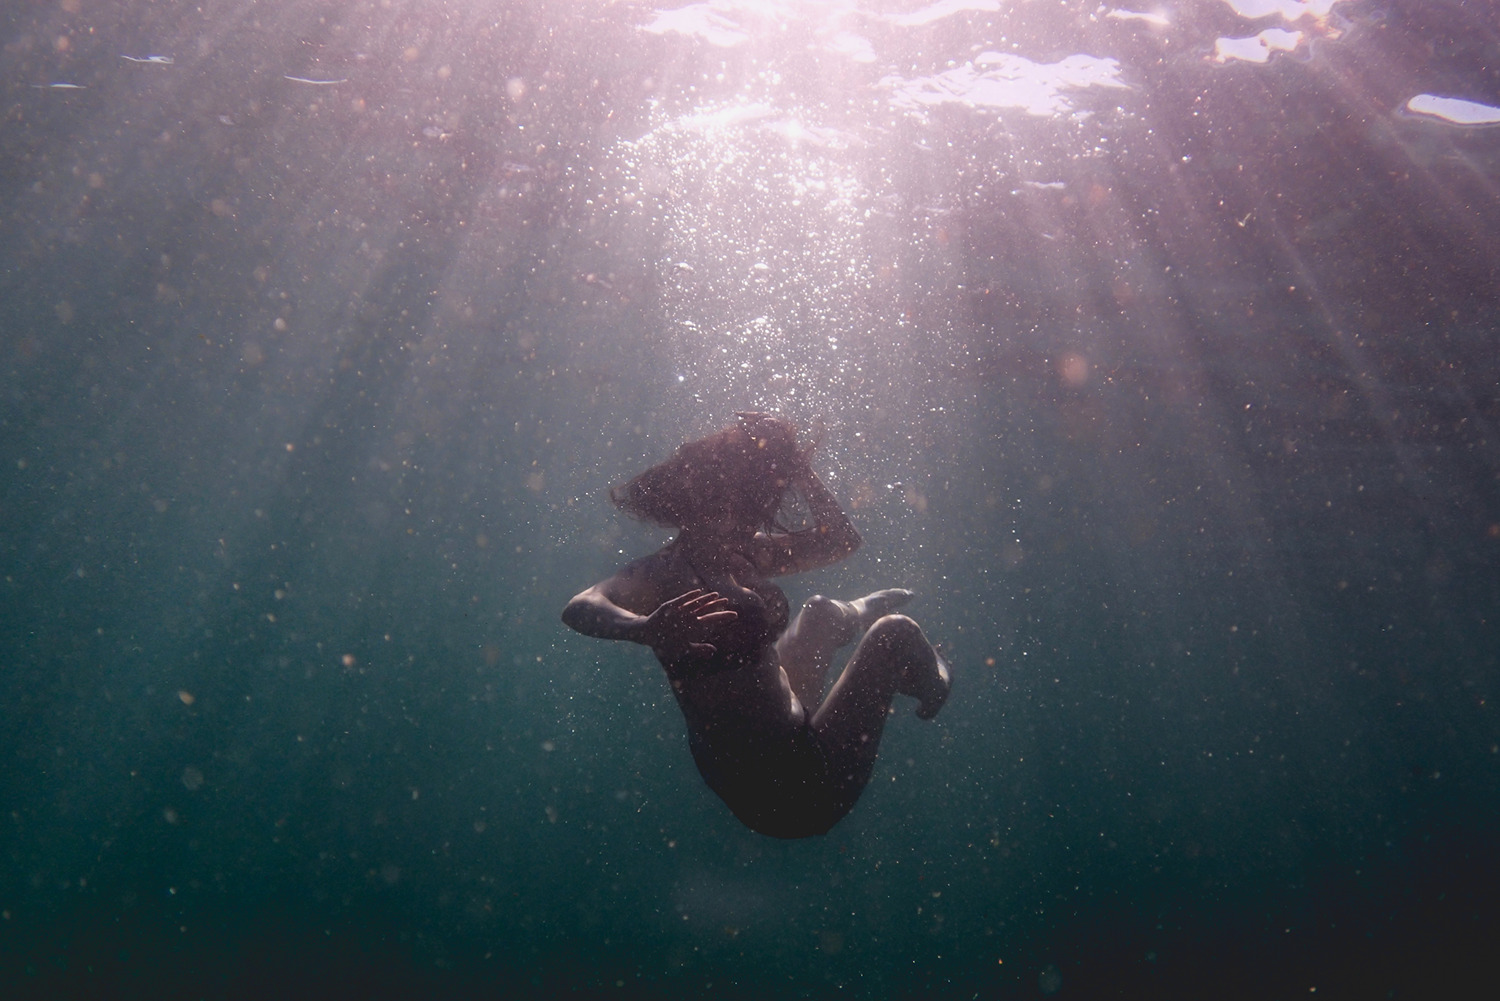
Image part of a collaboration with Su Cassiano

Untitled #2365, 2016

Meeso #1, 2009
Meeso #2, 2009

National Photographic Portrait Prize Finalist 2017
I'm very happy to announce that I've been shortlisted as a finalist in the National Photographic Portrait Prize (NPPP) 2017 to be exhibited at the National Portrait Gallery in Canberra, Australia. The National Portrait Gallery is one of my favourite galleries to visit in Canberra and it will be an honor to have my work displayed there.
http://www.portrait.gov.au/exhibitions/national-photographic-portrait-prize-2017
The National Photographic Portrait Prize 2017 will be displayed at the National Portrait Gallery from Saturday 1st of April until Sunday the 18th of June 2017 and then will tour to a range of venues around Australia.
Unfinished Print Projections
I'm going to be presenting some work tonight from a new series at the December Unfinished Print Projections at 107 Projects in Redfern.
https://www.facebook.com/events/1790375331248038/
Also presenting is;
Paul Blackmore
Victor Caringal
Paul McDonald
Wendy McDougall
Robert McRobbie
Sarah Rhodes
Sophie Willison
Marcus Boyd
Derby Chang
Starting from 7pm - running upstairs in the garden rooftop conference room - there is a separate doorway just to the side of the main entrance at 107.
Hope to see you there!
107 Projects, 107 Redfern St, Redfern. http://107projects.org/

Anika, 2016

Cross, 2016

Untitled #2075, 2016

Olive Cotton Portrait Prize Finalist 2013
I’m happy to announce that my work ‘Jackson Stacy, 2012′ has been selected as a finalist in the 2013 Olive Cotton Portrait Prize, to be exhibited at the Tweed River Art Gallery in Murwillumbah, NSW.
The Exhibition will be open Friday 9th of August to Sunday 29th of September 2013 at the Tweed River Art Gallery, 2 Mistral Road (Cnr Tweed Valley Way), Murwillumbah
The gallery is open 10am – 5pm Wednesday to Sunday. Admission is free.

Stephen Bartels Gallery, London
A small selection of work from my ‘Skateboarding Life’ series is being exhibited this month at the unique Stephen Bartels Gallery in London. If you’re at that end of the Earth, please drop by to have a look.
30 Churton Street, London, SW1V 2LP
Telephone: +44 (0) 20 7630 7300
Web http://www.stephenbartelsgallery.com
Email info@stephenbartelsgallery.com
Open hours:
10.30 – 6pm Mon – Fri
10.30am – 5pm Sat
Closed bank and public holidays

Head On Portrait Prize 2013 Finalist
I have been very lucky to have been selected as a finalist in the 2013 Head On Portrait Prize, currently being exhibited at the State Library of New South Wales as part of the Head On Photo Festival. Drop by the library to see my work and the inspiring work of all the finalists. The exhibition is open till the 23rd of June. More details at http://headon.com.au/
Building a 20×24 Camera – Part 3
We’ve made some progress on our build of a 20×24″ view camera. We put together the foam-core bellows using a healthy amount of matte gaffer tape, and did a test fit to the front and back standards. We started putting together the PVC pipe extension rail system, and we’ve got a whole host of small issues that will need addressing as the camera progresses. Excited about the prospect of having a working view camera, we attached the Fujinon-C 600mm lens to a piece of foam-core using the remaining gaffer tape, and made a makeshift ground glass from six sheets of tracing paper taped together, and had ourselves a proof-of-concept working 20×24 view camera! Some shots below (please excuse the focus/exposure of these snapshots!);
Read more about the development of the camera in here.

Testing the fit of the foam-core bellows

Testing the fit of the foam-core bellows

Looking through the camera from the incomplete front standard (yet to have a front face)

Our makeshift ground glass made from tracing paper

Looking through from the front of the camera to our makeshift ground glass made from tracing paper at the back…

Our half finished 20×24 camera sitting on a table on wheels (makes a nice stand!), sitting ready to test out the lens…
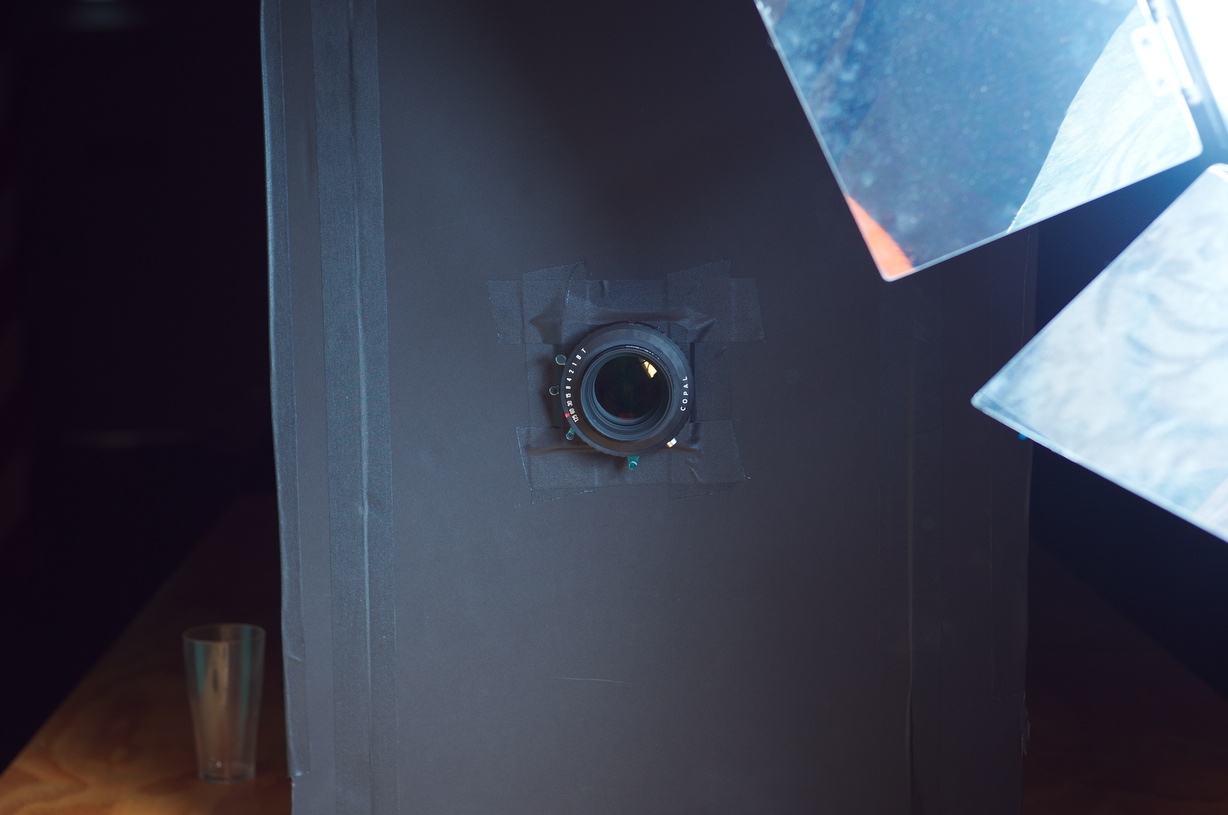
View of the temporary foam-core front standard with Fujinon-C 600mm lens – hastily taped together from some foam-core offcuts!

Piotr posing in front of the 20×24 camera

View from the back of the camera – Piotr’s image appears upside-down on the tracing paper ground glass on the back of our 20×24 camera – it works!

Piotr’s image appears upside-down on the tracing paper ground glass on the back of our 20×24 camera – it works! (Detail)

My turn to pose in front of the DIY 20×24 camera

With an expression somewhere between serious and quizzical, I appear upside-down on the tracing paper ground glass on the back of our 20×24 camera. You can’t tell, but I’m very happy with our progress so far!
Building a 20×24 Camera – Part 4
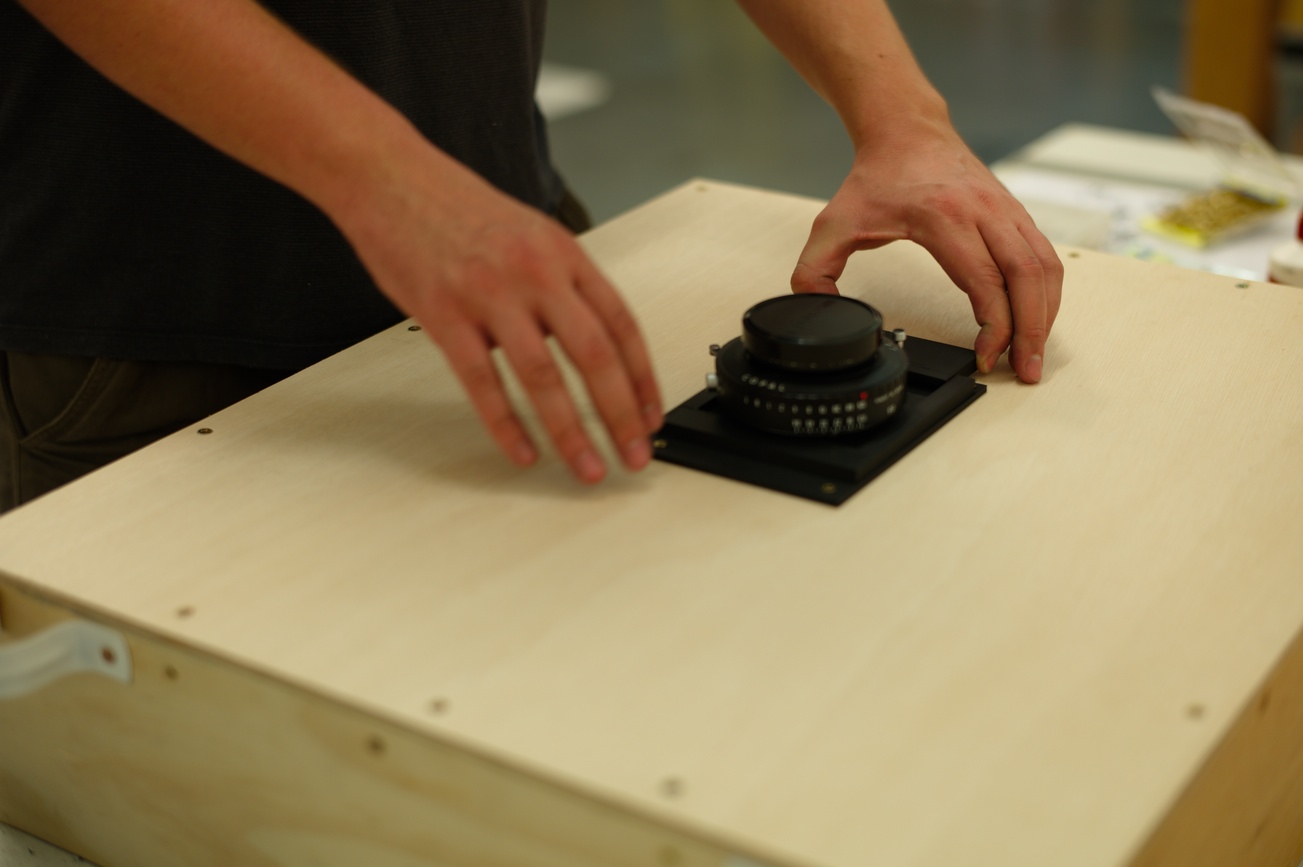
We’re making good progress on our 20×24 camera. We’re reaching the final stages as we put together our focusing screen (clear perspex with a frosted film), made up a lens mount and attached it to the front face, and trimmed down our bellows slightly to allow better movement. Piotr designed both the lens mount and the cam locks for the film holder in the computer using a 3d program called Modo, then printed them out on his brand new 3d printer – a Makerbot Replicator 2. We gave a coat of matte black paint to the lens mount, added some felt to trap any stray light and it was ready to go.
See more in here.
Check out the photos below to see our progress;

Trimming the frosting on the perspex ‘ground glass’

Painting the lens mount. The lens mount was designed by Piotr, created in Modo (a 3d program) and 3d printed using a Makerbot Replicator 2.
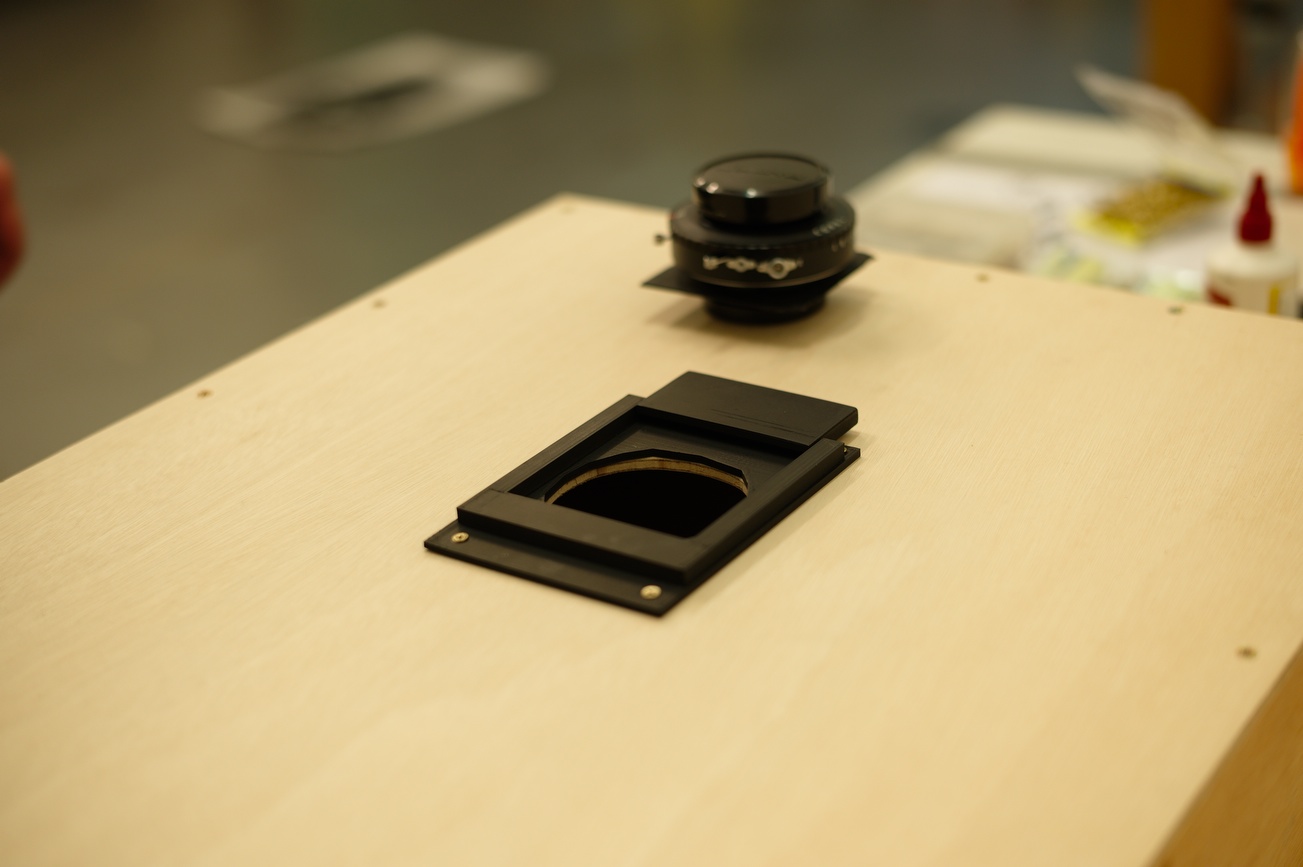
Lens mount attached
Testing the fit of the lens mount.
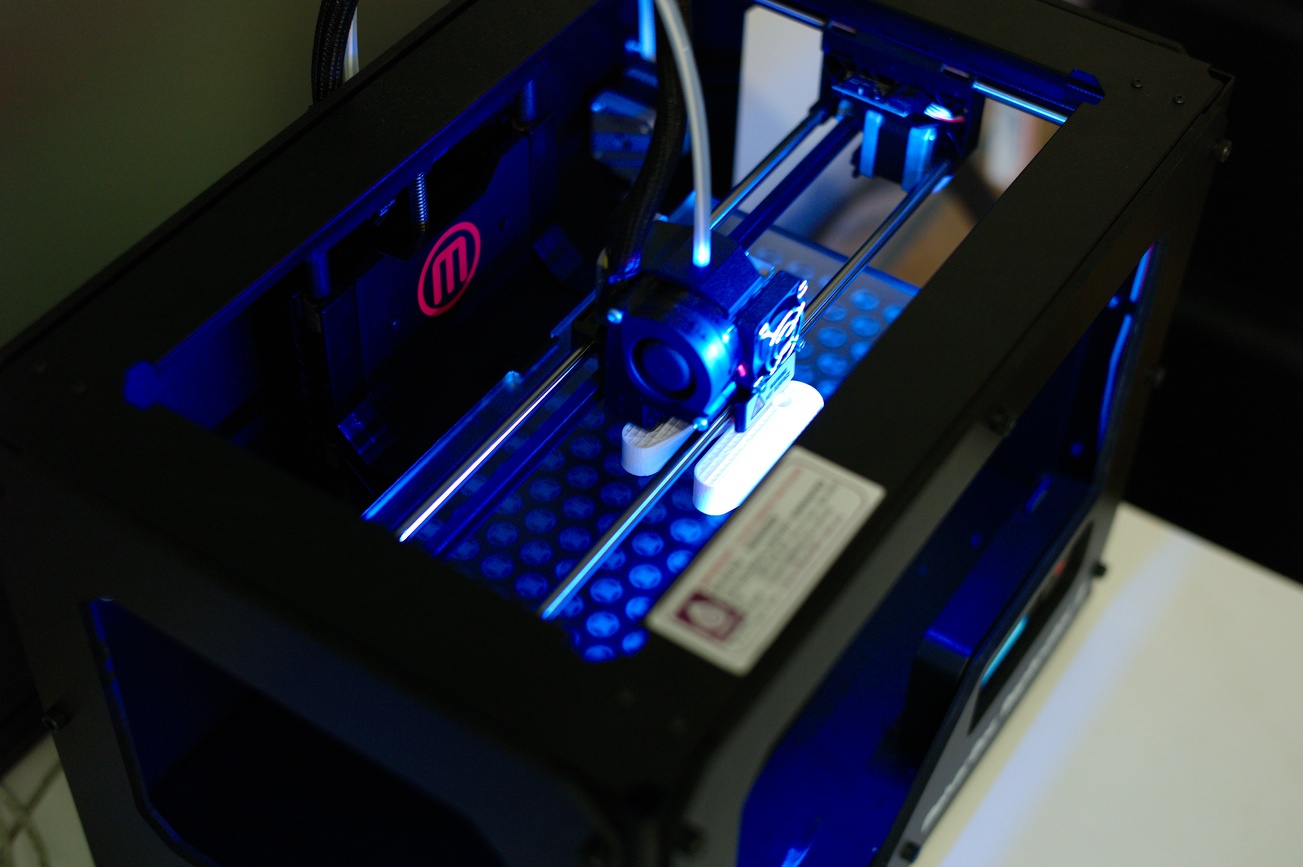
Makerbot Replicator 2 creating a 3d print of our cam locks

Top cam locks in place (we’ll be adding another two later)

3d printed cam lock in place
Building a 20×24 camera – Part 2
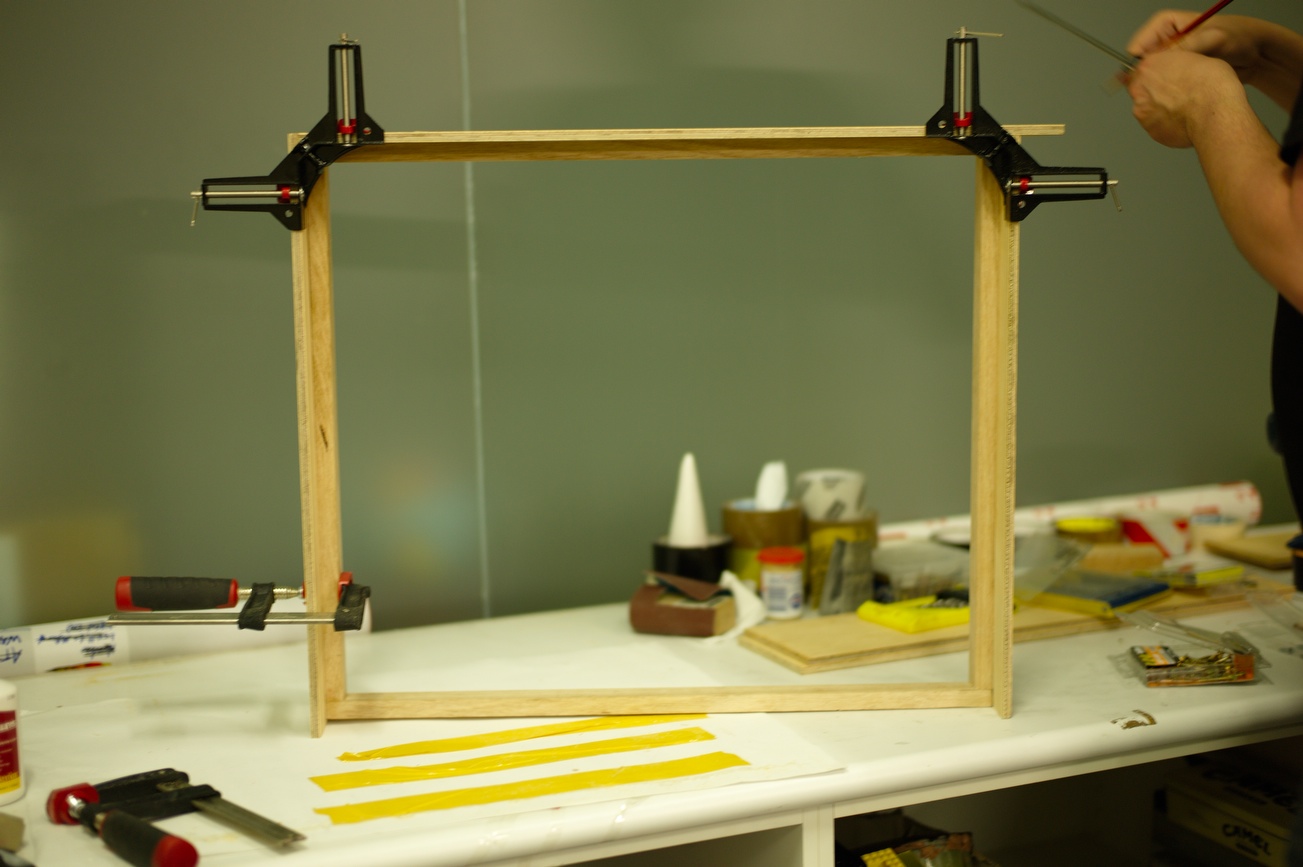
My friend Piotr Stopniak and I started work on our 20″ x 24″ ultra large format (ULF) view camera today. It will be made from plywood, pine and foam-core card. We’re going to build a rail system using PVC pipe to allow the simple box-within-a-box design to expand and contract, giving us focus control.
Read more here.

Screwing together the frame for the back standard

Filing out a notch for the 20×24 film holder

Gluing and clamping

Measuring out the depth of the internal frame

Measuring out the depth of the internal frame

More gluing and clamping
More gluing and clamping

Testing the fit of the 20×24 film holder

Testing the fit of the 20×24 film holder

Testing the fit of the 20×24 film holder

Gluing and clamping the front standard

Cleaning up excess glue on the front standard
Building a 20×24 camera – Part 1
As a collaboration with my good friend and fellow photographer Piotr Stopniak, we’re building a 20″ x 24″ ultra large format view camera for my next big photo project. Piotr is a Cgi/3d artist, and he was able to put together a 3d model of our design. It was a great way of nutting out what ideas were going to work and what wasn’t, and to make sure that everything would fit together properly when we go to make the final camera (provided we cut everything to spec). The idea was to make a working 20×24 camera that was simple, easy to build and relatively light. We didn’t need movements other than focus, so that helped to keep the design simple.
The front and back standards are to be made from pine frames with plywood sides, with the back standard deep enough to hold the film holder and something to hold the film holder in tightly. The main bellows are to be made from matte black foam-core cardboard, and will be able to extend and contract by using a simple box within a box design, where one box is ever so slightly bigger than the other. A simple loose material bellows will also cover the seam of the two boxes to eliminate any potential light leaks.
A rail system (similar to the box system for the bellows) will be employed to allow the camera to focus, by using PVC pipes, one inside the other and clamped to the base of each standard.
The ground glass will be a removable wooden frame with a frosted perspex sheet to allow focus.
We have a nice Fujinon-C 600mm lens to go on the front, and a very nice 20×24 film holder to go in the camera as made by Sandy King at S&S Film Holders. (Thanks Sandy!)
Here are some screenshots of the model of the camera.

Camera Wireframe

Back standard and front plate

Film holder in wireframe back standard

Front standard and film holder